Stuffs covered in day 9:
- Spark plugs
- Flywheel install
- Clutch Install
- Transmission Install
- Mounting the motor
Stuffs covered in day 9:
There was a lack of update on this site as the new president of my company has forced a global restructuring of the multi national corporation. This probably meant that alot of the workforce will have to be laid off sometime at the final quarter of the year. Alot of time has been spent on updating my CV to justify my existance in the company.
Anyways, here is day 8 of the build. Stuffs covered in this post:
 Day 6, Installation of GReddy Intake Manifold
 Make sure the area you're working on is free of clutter. The metal intake gasket should be changed and no seal is needed. If you don't have a new intake manifold gasket, carefully inspect it, mine was still good so I opted in using my old one.
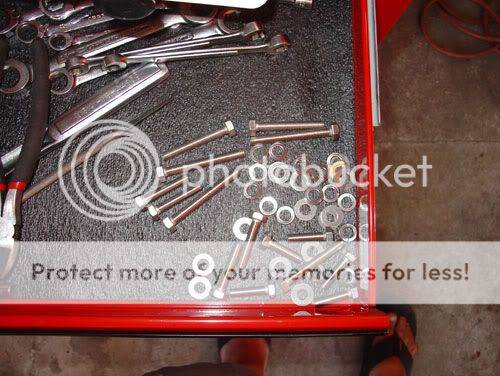 Here is the jumbled mess of bolts that come with the manifold.
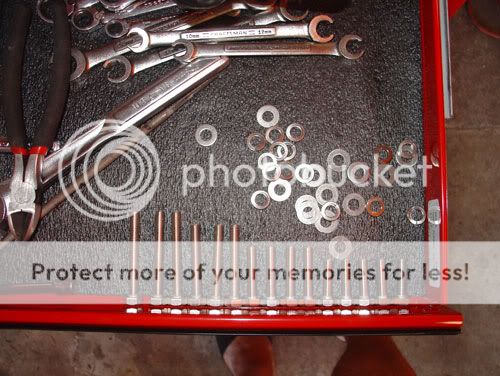 You can see from the photo that there are four different size of bolts. The four bolts that are the second shortest (two sizes from the right) will be used for the throttle body if you don't have the original throttle body bolts. You will need to use the two longer bolts and the shortest bolt for the intake plenum.
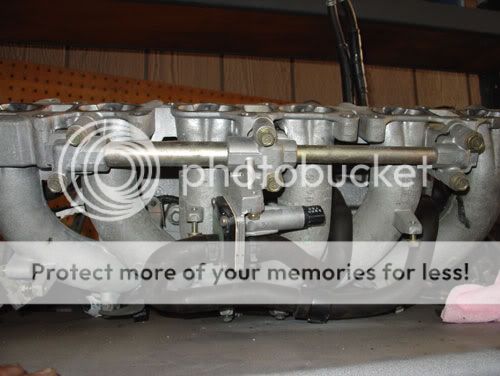 NOTE: I did this part out of order, but should be done first! Off of your old intake manifold, remove the water tube that lays on the bottom with a 12mm socket. Six bolts in plain view.
 It's these guys if you're still confused.
 There is a 10mm bolt that acts like a bracket for the vacuum hose (for the air regulator) on the manifold. You can remove that or just remove the hose.
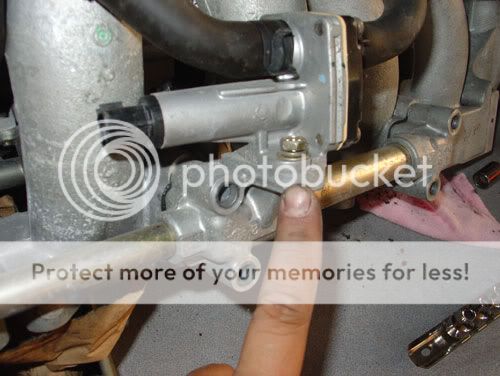 It would be easy to remove these 10mm bolts after you remove the whole assembly (with water tube) from the manifold.
 On the top portion of the stock intake manifold, you can remove these three 12mm bolts that house the IAA unit.
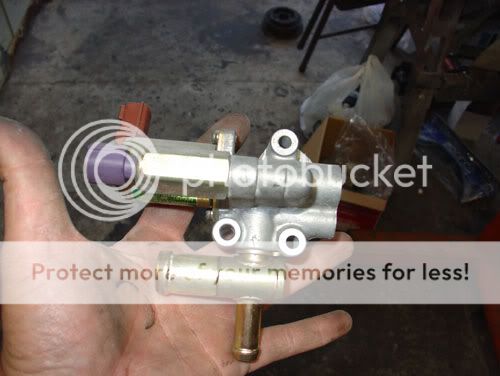 Here it is removed from the stock manifold.
 On the GReddy plenum you'll see the mounting location for the IAA valve (it's on the right silly).
 Just one of those pictures for you blind people.
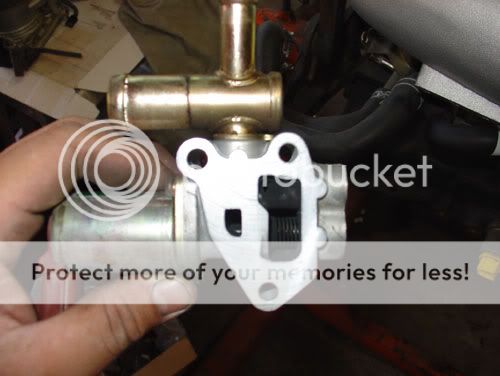 You should clean off the gasket that was on the IAA valve and make sure it looks something like this when you're done.
 Then lather up that famous RTV gasket maker.
 Remember the three 10mm bolts we used to take out the IAA valve, well these should be reused. I cleaned up the threads a little with a wire wheel, but do as you please here. A little blue thread locker wont hurt.
 These three bolts should be torqued to 8.4-11 N-m or 0.86-1.1 km-m
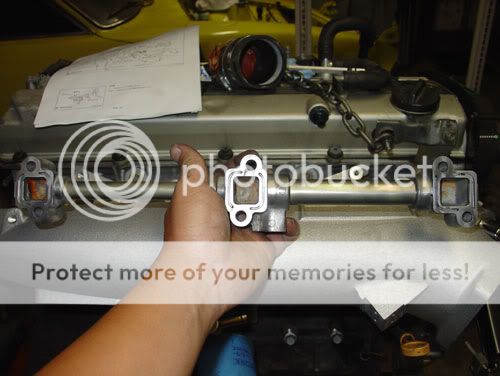 Next is the beloved water tube.
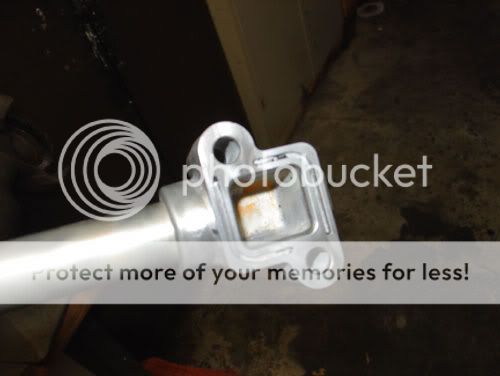 Try to clean out as much of the old gasket and rust (if present) on this part. A good brake cleaner should work.
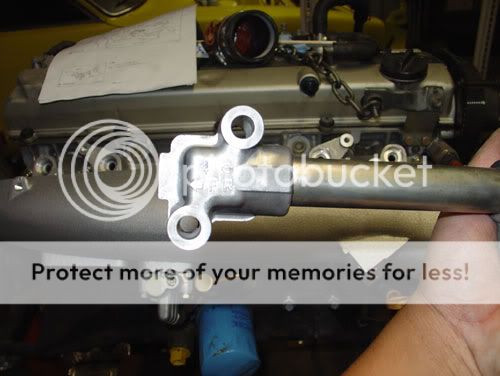 I dolled up the underside just a little too to make it look a little newer.
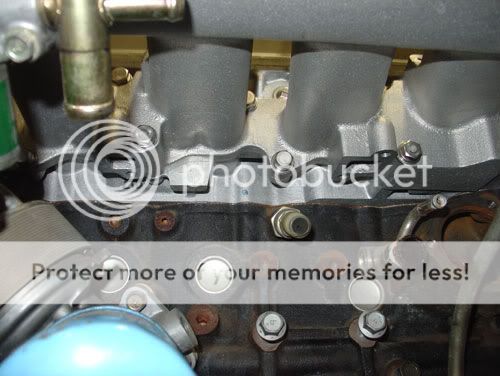 You can see how cluttered it is underneath the intake manifold when it's installed. This is why I highly recommend you installing the accessories on the manifold before you install the manifold!
 More clutter...
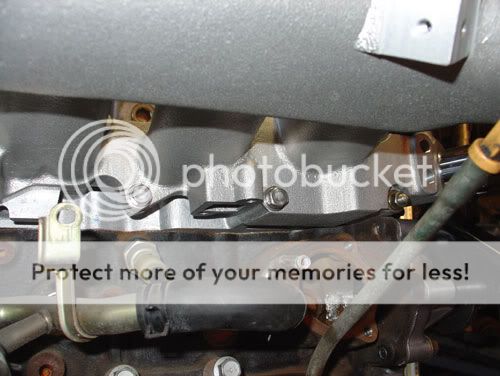 It was soo tight in there that I decided to remove the water hoses and the oil cooler.
 This allowed me to free up some room.
 Use the original 6 12mm bolts that held in the water tube to re-secure the tube.
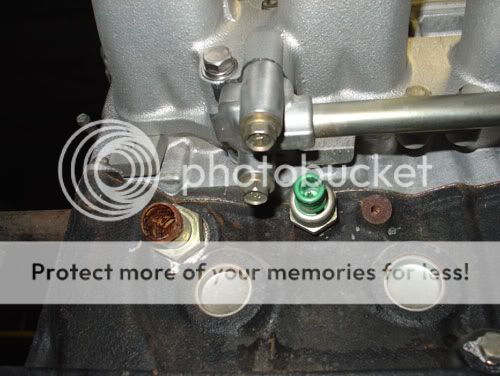 Use the same gasket maker and torque all 6 bolts to 16-21 N-m or 1.6-2.1 kg-m.
 As you can see from this picture, I had no problem in torque for 5 bolts, but the one bolt that was closest to the camera on the far right (by the water pipe coming from the thermostat) I couldn't get my torque wrench in there for beans. So 5 out of 6 bolts were torqued and the 6th one I pray I get lucky.
 Next comes all the washers and bolts for the intake manifold. There are washers and each washer has two sides. One side should be shiny and smooth while the other is rough. The order of the bolt should be, hex bolt, the compression washer, then washer (smooth side facing the hex bolt) and rough side down towards the intake plenum).
 A word to the wise, before you install, place the correct size bolts through the manifold to get an idea of where each bolt needs to go.
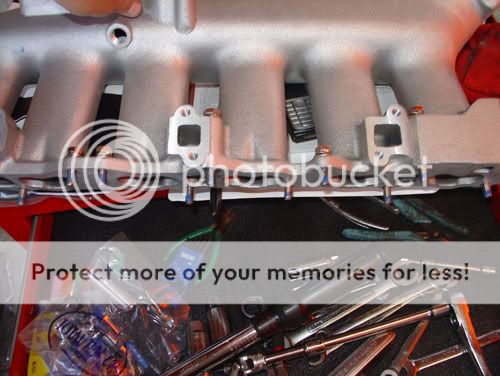 Place thread locker on the bolts before if you want, but this stage is up to you, I highly recommend it.
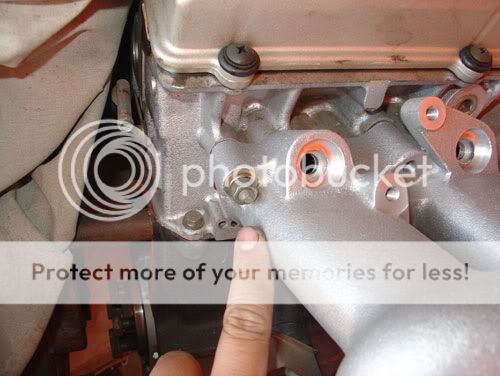 Place the manifold on the head, and hand tighten the nuts that go on the stock stud at each end of the manifold.
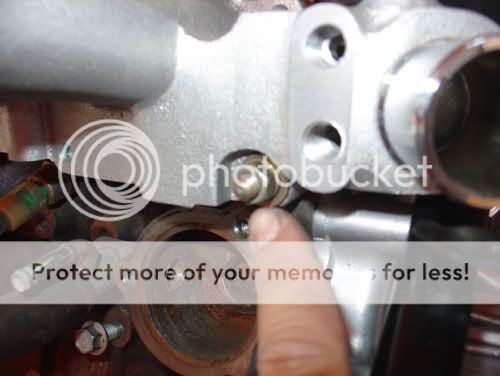 And the other side...
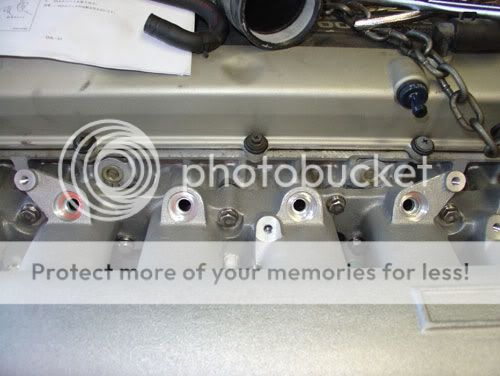
 Day 5, Timing Belt, Water Pump and Oil Pump Install
So I cleaned up a lot of that rust compared to the discoveries I found in Day 4.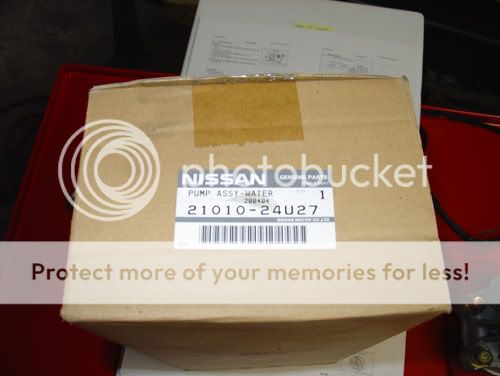 New water pumps are cheap insurance. I opted to use the Nissan N1 Water Pump.
Nissan Part Number "21010-24U27" These studs come with the water pump. Connect these to the water pump by hand for now and come back with Thread Locker later.
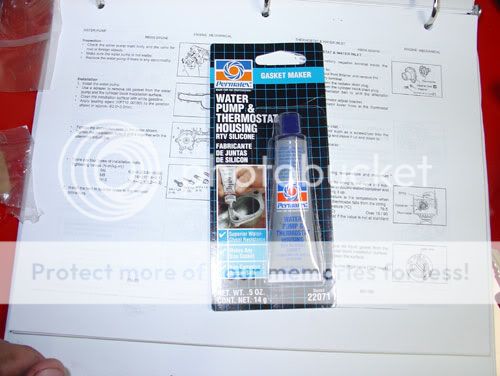 I am not a fan of gaskets unless it comes to Head Gaskets and other gasket only applications.
Otherwise I used the Permatex Water Pump and Thermostat Housnig Gasket Maker for the water pump.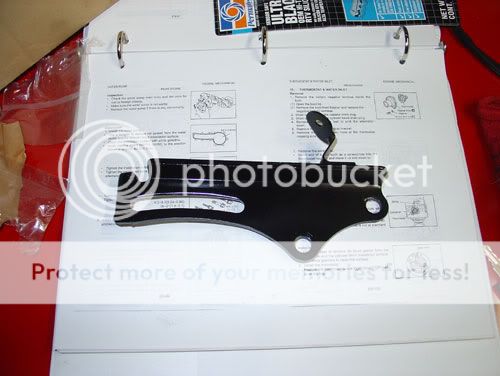 This is the alternator bracket that also goes onto the water pump on the two upper left 14mm bolts.
 Just the backside, nothing special.
 I decided to use Medium Strength Blue Thread Locker from Permatex on the water pump and oil pump bolts.
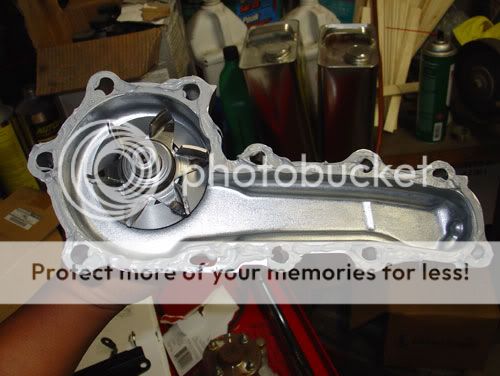 Make sure you apply your gasket maker all over evenly on the clean polished surface of the Nissan N1 Water Pump.
 Torque down everything in the right order going counter clockwise from the first 12mm bolt on the bottom middle.
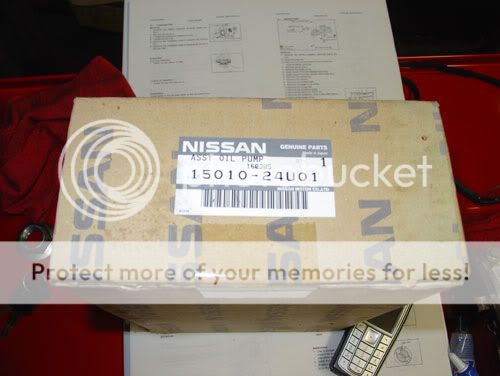 I love getting Nissan boxes. This particular box contains my N1 Oil Pump.
Nissan Part Number "15010-24U01"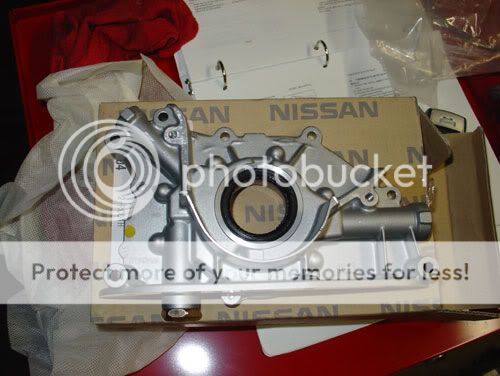 I know you've seen this before, but it looks pretty all over again.
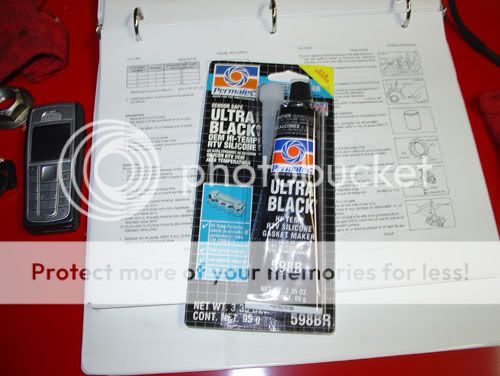 For the oil pan and oil pump, I opted to use a Ultra Black Hi Temp gasket maker. With no paper gaskets less surface to seal and less mess plus less error.
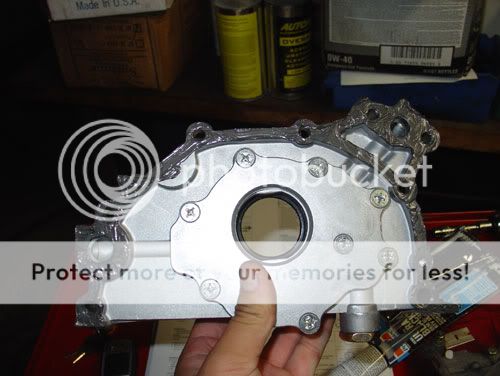
The oil pan to the left is all prepped up with Gasket Maker. Torque all 10mm bolts to specs
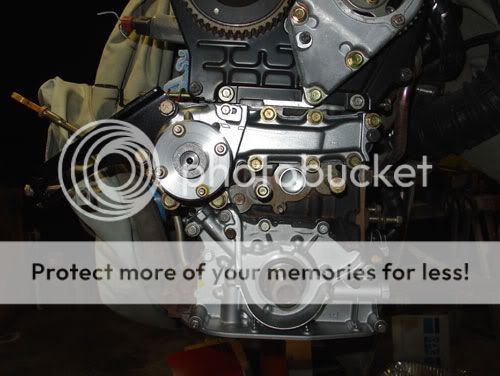 Two pumps installed cleanly.
 Clearance on the Oil and Water pump is tight, but Nissan did hell of a job designing these two parts.
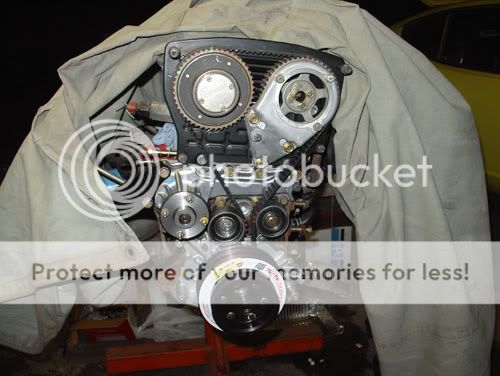
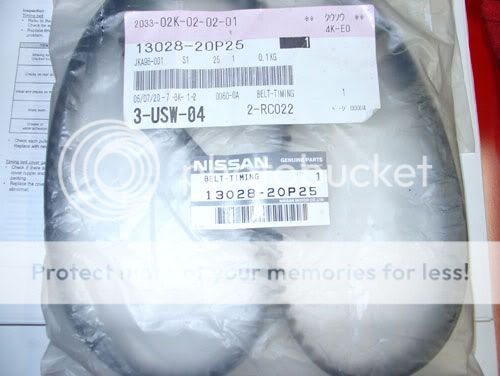 Like I had mentioned, this install we will also be doing a timing belt on my project.
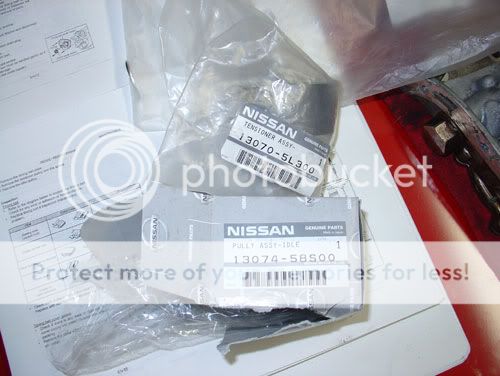
It is highly suggested you change the tensioner assembly and the idler pulley whenever you change the timing belt.
Nissan Part Number for Idler Pulley "13074-58S00"
Nissan Part Number for Belt Tensioner "13070-5L300" Yum yum yum, I love new OEM, everything is so shiny!
 Notice on the bottom of the tensioner assembly that the newer tensioner (on the left), has a hole instead of a slot for the tension spring. The new Idea on the hole instead of the slit makes it easier to install the tension spring with no problems.
 The marks on the old idler pulley doesn't matter since it is purely because it doesn't spin like you would think.
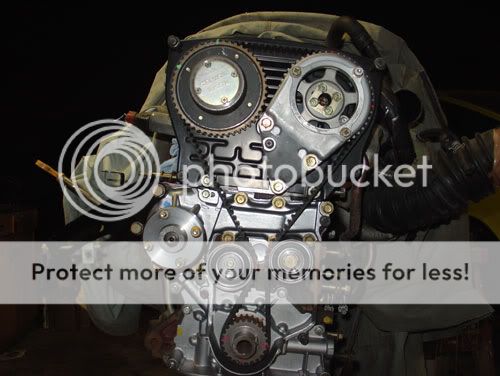 Drop the belt on with the lines marked up looks pretty awesome.