There was a lack of update on this site as the new president of my company has forced a global restructuring of the multi national corporation. This probably meant that alot of the workforce will have to be laid off sometime at the final quarter of the year. Alot of time has been spent on updating my CV to justify my existance in the company.
Anyways, here is day 8 of the build. Stuffs covered in this post:
- Motor mounts
- Nismo thermostat Install
- ATI damper Install
- Alternator Install

Day 8, Motor Mounts:Brand new hardware for the motor mounts since the stock bolts were too long. These bolts are sized M10x1.5 25mm long.
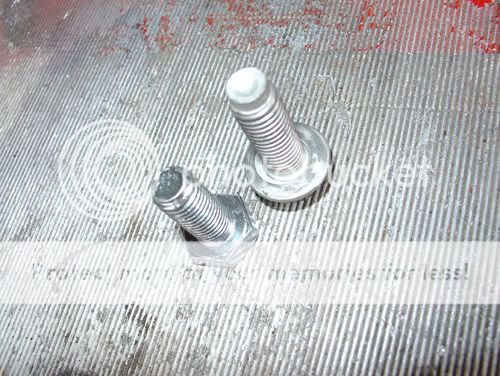 Stock on right versus new bolt on left.
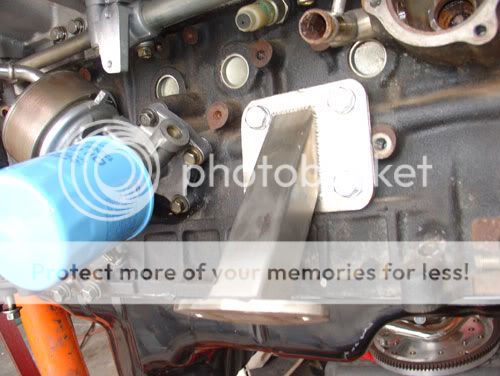
This is the right side motor mount. I used red threadlocker here. Torque the motor mount bolts to 43-55 N-m or 4.4-5.6 kg-m.

Just a close up.
Same thing with the other side. Thread locker and torque to 43-55 N-m or {4.4-5.6} kg-m.
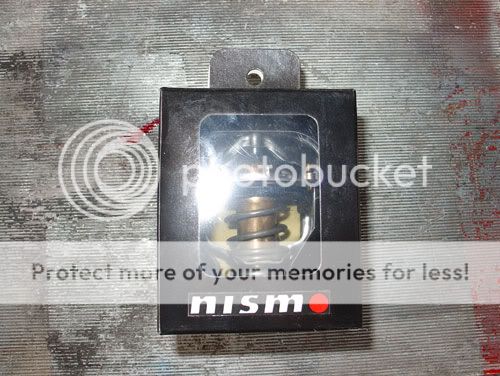
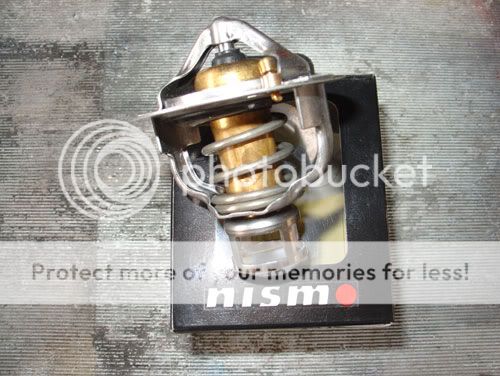
Nismo Thermostat!

I'll get the part number later, the flash was too bright and covered the numbers.
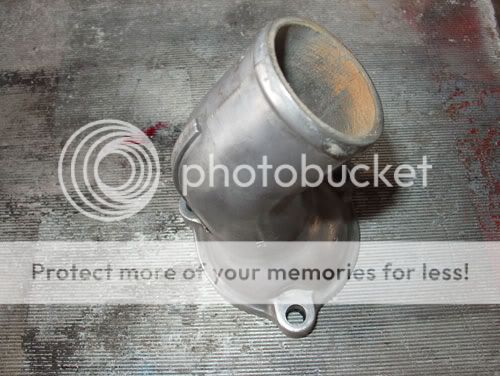
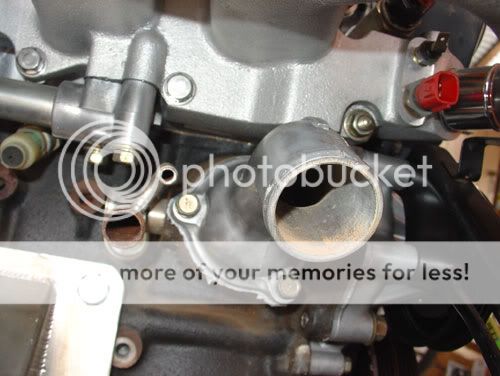
Thermostat housing.
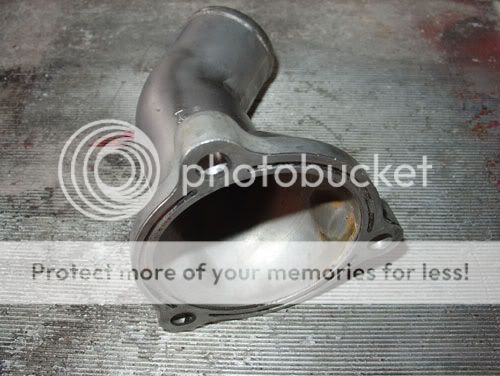
Another view

Clean the surface of your water outlet.

The Nismo Thermostat opens at 62 degrees celcius.
Another view....
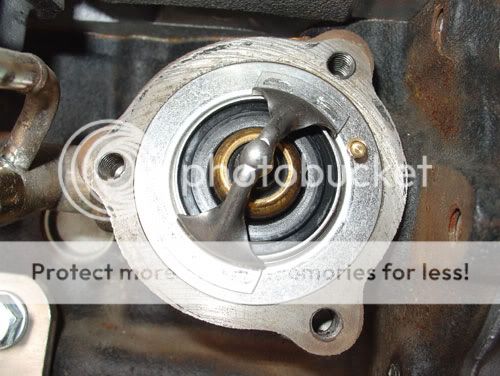
Make sure the jiggle valve is pointed up. Mine in this picture is in the 2 o'clock position, change it to 12 o'clock.
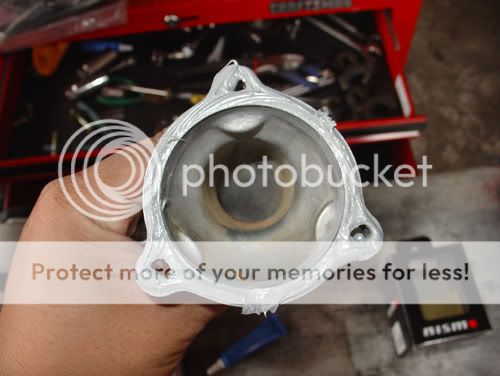
I used the water pump and thermostat sealant instead of the RTV gasket maker.
Make sure the water outlet is pointed down.
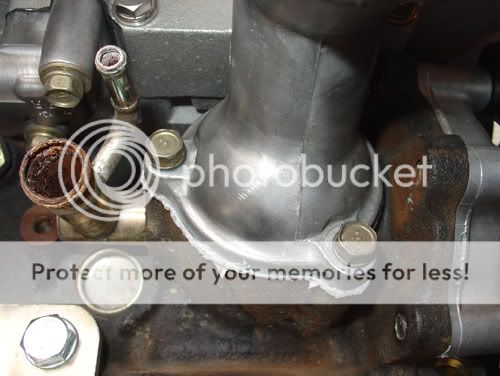
Too much sealant when torque down all the ooze just filled to the sides, no worries, just let it dry and worry about it later. Torque to 16-21 N-m or {1.6-2.1 kg-m}.
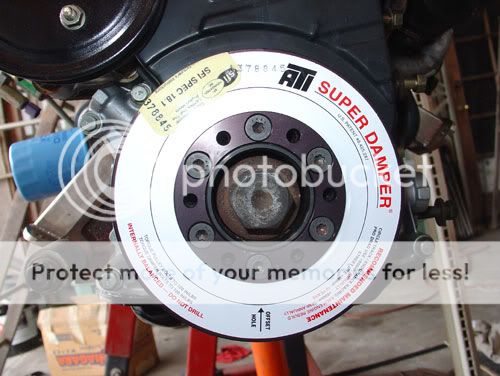
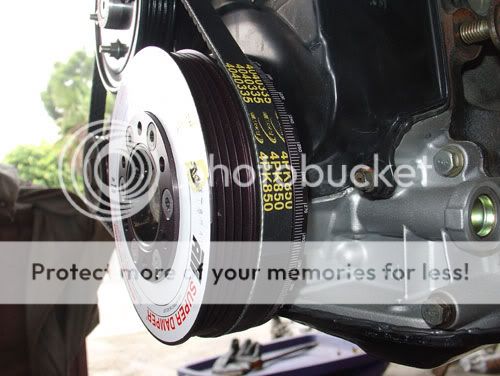
ATI Super Damper! Red threadlocker here and torque it down to 120 ft/lb as stated on the label of the Damper.
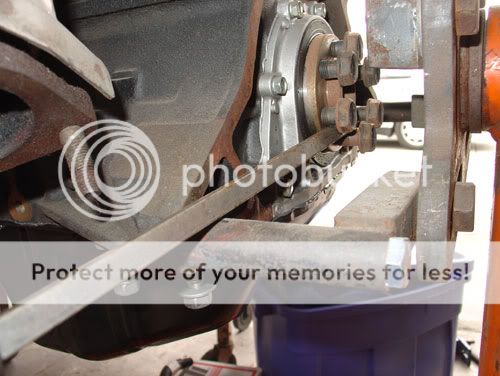
In order for me to torque it down, I had to put a pry bar to the bolts in the back for the flywheel and use the engine stand as a holder while I tightened the crank damper bolt.
You can now install the water pump pulley. Tighten the four bolts on the water pump.
Torque to 6-10 N-m {0.6-1.0 kg-m}

You can install the lower main bolt for the alternator now.

The Japanese thought of everything! The bottom bolt torques the alternator belt. The side bolt holds the top of the alternator in place.
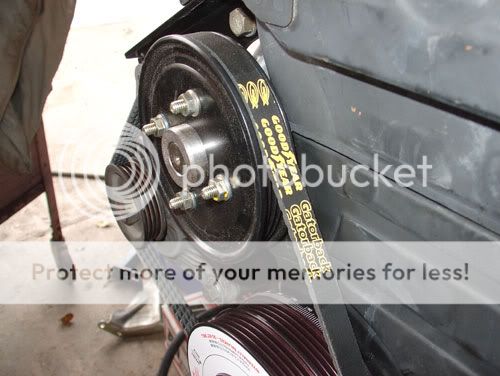
Make sure your super V-Belt is on.

The belt size is 4PK850. The belt is a Goodyear Gatorback belt part number #4040335.
How to read this part number...
4 - Super V belt
04 - 4
0335 - 33.5" long (translates into roughly 850mm).
Power Enterprise makes a belt too but I didn't want to spend the money.

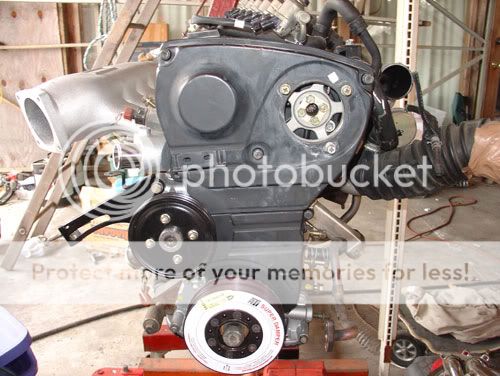
Voila! All done! it's pretty!
The money shot.
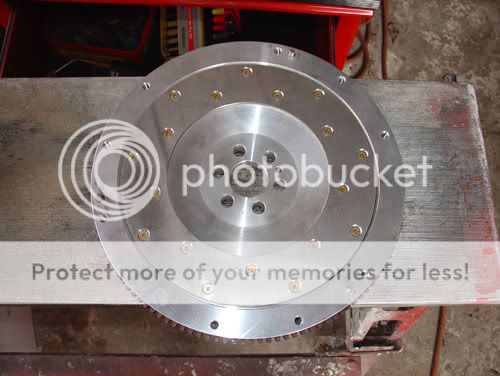
Fidanza flywheel, want to guess how much it weighs?

Keep going down!
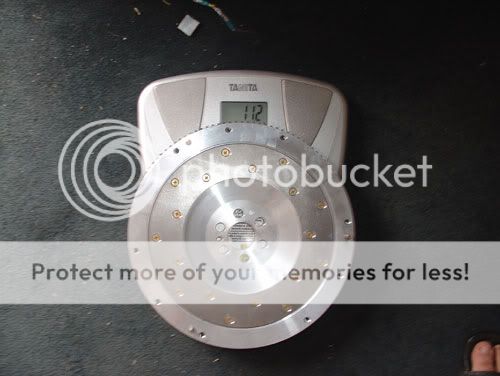
11.2 lb. flywheel on a RB25DET. Should be fun!
1 comments:
Hi, do you have de ATI part number?
Post a Comment